Exploring Linux Mount (MNT) Namespaces for Enhanced Process Isolation
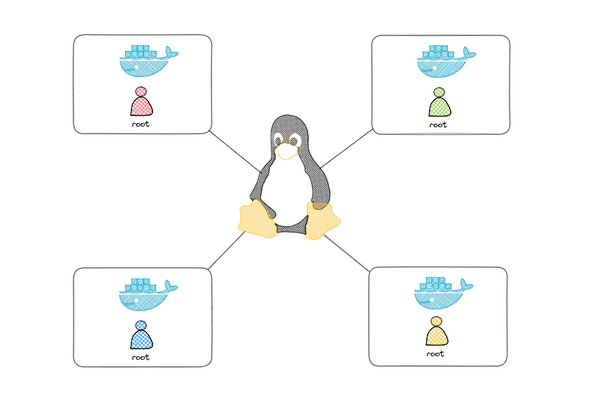
Linux namespaces are a powerful feature that allows system administrators and developers to isolate and manage various aspects of a system. One such namespace is the Mount (MNT) namespace, which plays a critical role in providing process isolation by controlling the visibility of filesystem mounts. In this blog post, we will dive deep into Linux MNT namespaces, explore their significance in ensuring process isolation, and learn how to use them with practical examples.
Understanding Linux MNT Namespaces
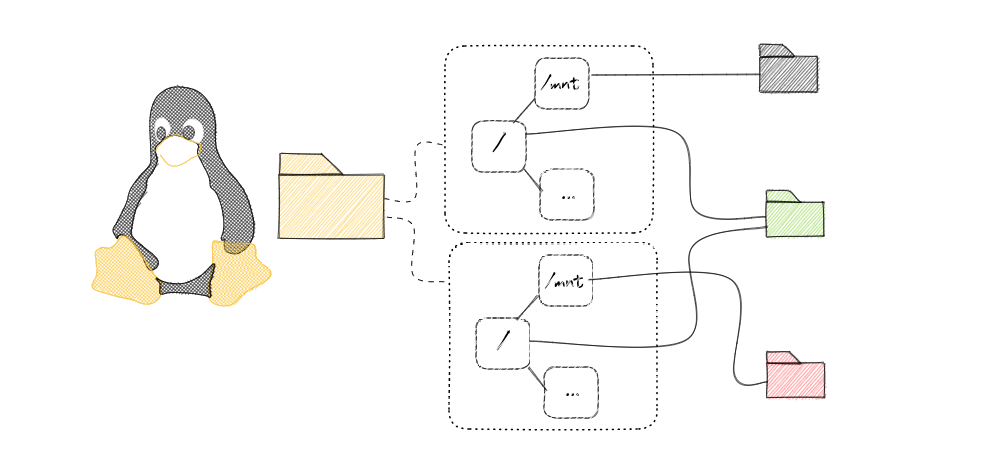
The MNT namespace is responsible for managing the visibility and isolation of filesystem mounts in Linux. When a process creates a new MNT namespace, it receives a private and isolated view of the filesystem. Any changes made to the mounts within this namespace are not visible to other namespaces, providing an additional layer of isolation.
Creating and Exploring a MNT Namespace
To better understand MNT namespaces, let's create one using the unshare command and execute a process within it. This hands-on example will demonstrate the isolation provided by the MNT namespace and how to manipulate mount points within it.
Check the ID of the root MNT namespace:
ls -l /proc/$$/ns/mntCreate a new MNT namespace:
sudo unshare --mount /bin/bashVerify the new MNT namespace by comparing its ID with the root MNT namespace:
ls -l /proc/$$/ns/mnt

Create a temporary directory and mounting a filesystem:
mkdir /tmp/mnt-blog
mount --bind /tmp/mnt-blog /mnt
Verify the new mount point within the MNT namespace:
grep /mnt /proc/self/mountinfo
Checking mount point visibility outside the MNT namespace:
In another terminal (outside the MNT namespace), check the mount point visibility:
grep /mnt /proc/self/mountinfo
This example demonstrates that changes made to mount points within the MNT namespace are not visible outside of it, ensuring isolation between processes.
Sharing Mount Points Between MNT Namespaces
There may be scenarios where you want to share mount points between different MNT namespaces. In this section, we'll demonstrate how to create a shared mount point in the global namespace and bind it to new mount points in two separate namespaces.
Create a new directory and a new mount point in the global namespace, then make it shared:
mkdir /tmp/mnt-global
mount --bind /tmp/mnt-global /tmp/mnt-global
mount --make-shared /tmp/mnt-global
In Terminal 1:
create a temporary directory, mount it to /mnt.
sudo unshare --mount /bin/bash
mkdir /tmp/mnt-blog-shared
mount --bind /tmp/mnt-global /tmp/mnt-blog-shared
In Terminal 2:
create the second namespace and bind the shared /tmp/mnt-global directory to a new mount point:
sudo unshare --mount /bin/bash
mkdir /tmp/mnt-blog-shared-2
mount --bind /tmp/mnt-global /tmp/mnt-blog-shared-2
In Terminal 1:
Create a file in /tmp/mnt-blog-shared
echo "Hello from namespace 1" > /tmp/mnt-blog-shared/testIn Terminal 2:
Now, you should be able to see the 'test' file created in Terminal 1 from the second namespace in Terminal 2:
cat /tmp/mnt-blog-shared-2/test 
This example demonstrates how to share mount points between different MNT namespaces by binding the shared /tmp/mnt-global directory from the global namespace to new mount points in both namespaces. Since /tmp/mnt-global is shared in the global namespace, changes to the directory will propagate to both namespaces, ensuring that the shared files are accessible and up-to-date in both.
Conclusion
Understanding Linux MNT namespaces is crucial for managing process isolation and maintaining a secure and organized system. By leveraging MNT namespaces, you can effectively manage the visibility and isolation of filesystem mounts, enabling you to build more robust and scalable applications.
References